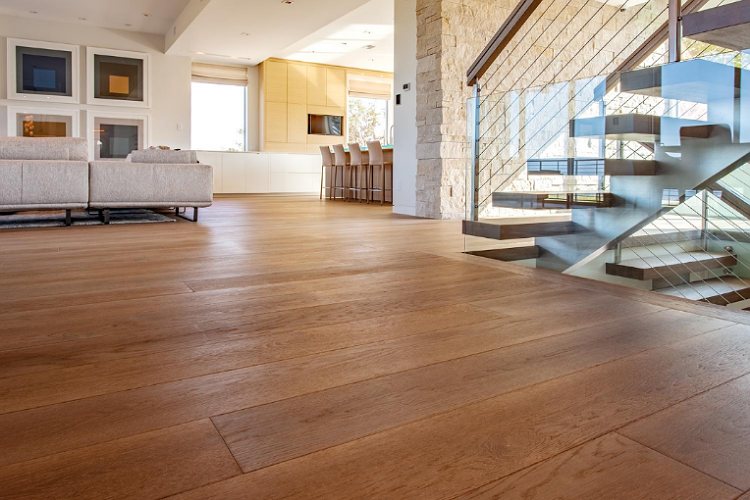
Hardwood floors are timeless, elegant, and add tremendous value to any home. However, their beauty and durability depend heavily on proper installation and ongoing care. Even high-quality wood can warp, crack, or wear prematurely if installation mistakes are made or maintenance is neglected.
In this article, we’ll explore key installation tips and best practices that ensure your hardwood floors stay stunning and functional for decades. From choosing the right wood to post-installation care, following these guidelines can help your floors last a lifetime.
1) Choosing the Right Hardwood Flooring
The first step in a long-lasting hardwood floor is selecting the right type of wood and finish:
- Solid vs. engineered hardwood: Solid hardwood is durable and can be refinished multiple times, while engineered hardwood offers more stability in areas with fluctuating humidity.
- Wood species: Hardwoods like oak, maple, hickory, and walnut are durable and resist dents and scratches better than softer woods like pine.
- Finishes: Pre-finished floors are quicker to install and have factory-applied coatings, whereas site-finished floors allow for a custom stain but require more time and expertise.
- Environmental considerations: Consider the climate, sunlight exposure, and household activity. High-traffic areas or homes with pets may benefit from harder woods and tougher finishes.
Choosing the right wood from the start minimizes problems later and ensures your floors stand the test of time.
2) Preparing Your Home for Installation
Proper preparation before installation is critical for preventing warping, gaps, and uneven surfaces:
- Acclimatization: Hardwood planks should sit in the room for several days before installation to adjust to temperature and humidity.
- Subfloor preparation: Ensure the subfloor is clean, level, and moisture-free. Uneven or damp subfloors can cause squeaks, buckling, or mold growth.
- Clearing the space: Remove furniture, rugs, baseboards, and any obstacles. This gives installers full access and prevents damage.
- Humidity control: Maintaining consistent indoor humidity (typically 35–55%) helps prevent expansion and contraction of the wood.
These steps provide a stable foundation for long-term durability.
3) Installation Techniques for Long-Lasting Hardwood Floors
The method of hardwood floor installation affects both the floor’s lifespan and performance:
- Nail-down, staple-down, glue-down, or floating floors: Each method has advantages depending on subfloor type and wood species. Professionals can recommend the best method for your home.
- Expansion gaps: Leaving proper gaps around the perimeter allows the wood to expand and contract with temperature changes, preventing buckling.
- Staggering boards: Staggered seams add structural stability and enhance the visual appeal of your floor.
- Layout planning: Proper planning ensures a balanced, symmetrical appearance, avoiding awkward cuts near walls or furniture.
Correct installation techniques are essential to prevent common issues such as gaps, warping, and uneven wear.
4) Common Installation Mistakes to Avoid
Avoiding errors during installation can save thousands in repairs and refinishing:
- Skipping acclimatization or moisture testing.
- Improper nail or adhesive application.
- Ignoring expansion gaps.
- Failing to prepare the subfloor correctly.
- Choosing a wood species unsuitable for your climate or household activity.
Even small mistakes can reduce lifespan, create squeaks, or compromise the aesthetic of your flooring.
5) Post-Installation Care and Maintenance Tips
Once your hardwood floors are installed, proper care ensures long-term durability:
- Initial cleaning: Remove dust and residue from installation to prevent scratching.
- Protective measures: Use rugs in high-traffic areas and furniture pads to prevent dents.
- Routine cleaning: Sweep, vacuum with a soft brush, or damp-mop using a cleaner designed for hardwood. Avoid excess water.
- Refinishing: Sanding and applying a new finish every 7–10 years (depending on wear) restores luster and protection.
- Humidity control: Consistent indoor humidity prevents cracks and cupping.
A combination of preventative measures and regular maintenance significantly extends your floor’s lifespan.
6) Hiring Professionals vs. DIY Installation
While DIY installation may save money, it comes with risks:
- Pros of professionals: Experts ensure proper subfloor prep, moisture checks, correct installation methods, and warranty protection.
- DIY challenges: Mistakes like uneven spacing, improper nail placement, or skipped acclimatization can lead to costly repairs.
- When to hire pros: Large areas, complex patterns, or exotic hardwood species often require professional expertise.
Professional installation is an investment in the long-term beauty and durability of your hardwood floors.
7) Maximizing the Lifespan of Hardwood Floors
To keep your floors looking pristine for decades:
- Protective finishes: Polyurethane, aluminum oxide, or natural oils create a durable barrier.
- Preventative strategies: Mats at entryways, proper humidity, and furniture pads reduce wear.
- Repairing minor damage: Spot repairs, sanding, or refinishing prevent small issues from becoming larger problems.
- Scheduled maintenance: Routine inspections and professional cleaning maintain both appearance and structural integrity.
Consistent care ensures your hardwood floors remain a lasting investment in your home.
Conclusion
Hardwood floors are one of the most beautiful and valuable upgrades you can make in your home, but their longevity depends on careful wood selection, proper installation, and ongoing maintenance. By following these tips and considering professional installation, you can enjoy hardwood floors that not only look stunning but last a lifetime.

